
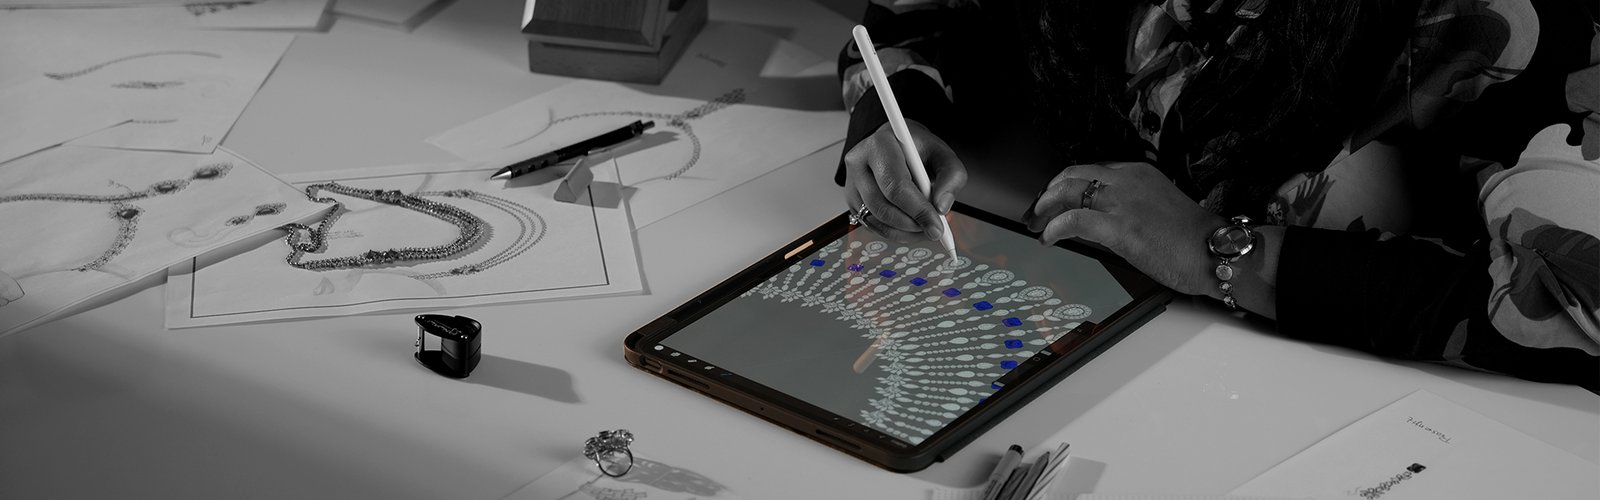
Jewellery Manufacturing Process
A step-by-step look at how lab-grown diamond jewellery is made.
 1
1
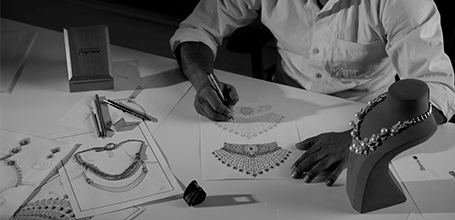
Conceptual design & CAD modelling
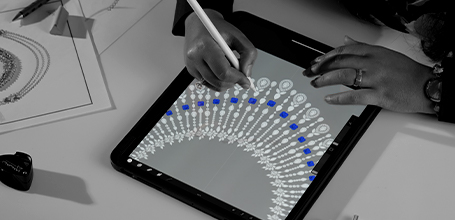
Designs begins as creative ideas, developed into detailed 3D models using third-party software, producing photorealistic renderings and technical drawings.
 2
2
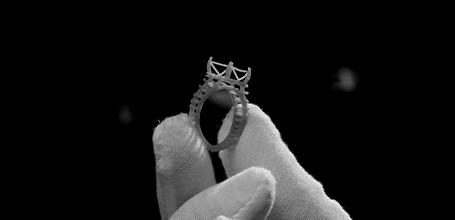
3D wax printing or resin casting
The CAD model is turned into a prototype with SLA or DLP 3D printers, using wax or resin for lostwax casting.
 3
3
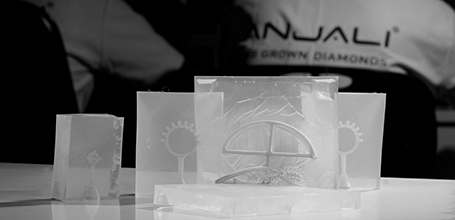
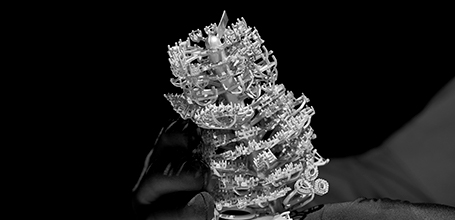
Investment casting (lost-wax)
Wax models are mounted and invested in plaster, which is then burned out to form a cavity for molten metal casting.
 4
4
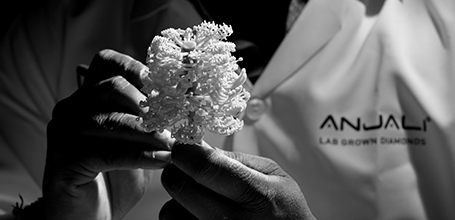
Filing and prepolishing
After casting, pieces are separated, filed, and pre-polished using rotary tools, hand files, and emery papers.
 5
5
Stone Setting
Certified lab-grown diamonds are placed into the prepared settings and secured by hand, ensuring each stone sits flush and firmly held.
 6
6
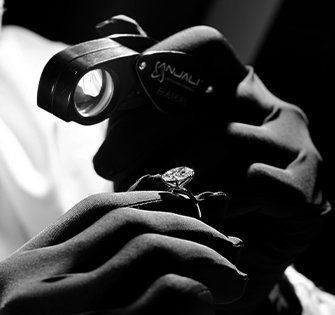
Diamond selection & sorting
Diamonds are selected and sorted by cut, colour, clarity, and size; methods include caliper measurement and loupe inspection.
 7
7
Stone setting
Diamonds are mounted into the metal using a range of setting types (prong, bezel, pavé, channel), and tools such as microscopes and gravers.
 8
8
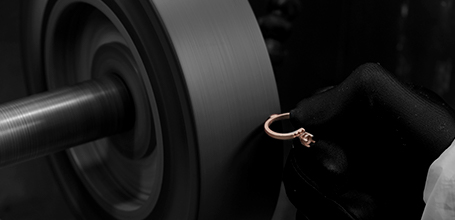
Final polishing and rhodium plating
Jewellery is machine and hand polished. White gold pieces are optionally rhodium-plated for enhanced shine with ultrasonic cleaning for finishes.
 9
9
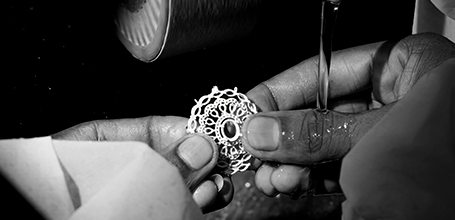
Quality inspection & packaging
Every piece is checked for stone security, overall finish, and purity stamps before packaging for export or private-label clients.